CHANGING TYRES THE RIGHT WAY!
Whether summer or winter - car tyres must be changed to suit the season. And we show you how to do this job with flying colours. If you want to change your tyres yourself in good do-it-yourself manner, there are a few things you should keep in mind to get through the summer/winter safely. WALTER has numerous tips on how to change tyres on your own without any problems. However, correct cleaning should not be neglected either.
The essentials: appropriate tools
To make sure the tyre change becomes a success, you should have the following tools on hand:
- vehicle jack
First of all, a stable jack is needed, there are two different jacks in the WALTER range, either the hydraulic trolley car jack 2t or the compact car jack 5t. The WALTER 2-piece axle support set 3t. is suitable for supporting the vehicle. To change the tyres of your car, you need a stable vehicle jack. It lifts the car to a level where the tyres float above the ground and can be detached easily. - wheel gun
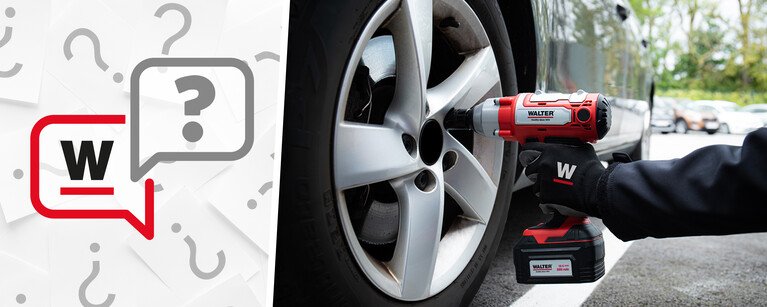
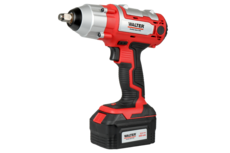
The wheel nuts can be removed quickly and easily with the help of a wheel gun. In case you don’t have one, you may use a wheel wrench instead. - torque wrench
The torque wrench is used to properly tighten the wheel nuts again after the tyres have been changed. - wire brush
The wire brush is important as well. It is used to clean the wheel hub and to remove dirt and rust. - chalk
The chalk is useful to label the tyres before putting them in storage. - car roller
The WALTER 2 in 1 car roller makes it easy to change and ensures a comfortable working position through cushioned back and headrests. - compressor
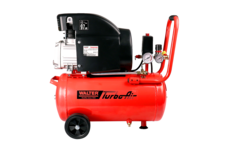
It will rapidly inflate your tyres and get you back on the road in no time. With the suitable compressopr accessory you can check the tyre pressure.
>> Discover here the air impact wrench kit for easy loosening and tightening of wheel nuts
>> Discover compressor accessory - 90kg aluminium trolley
The WALTER aluminium trolley can transport objects weighing up to 90 kg on its 240 x 390 mm surface.
A big advantage of the trolley is that it can be retracted to a minimum height of 710 mm and the loading area can also be folded in, making it very narrow and easy to store. -
>> Note: During storage, the tyre pressure should not exceed 3.5 bar.
- pressure washer
WALTER pressure washers are excellent for cleaning wheels before storage.
Here’s how to quickly and easily change your tyres
WALTER’s step-by-step instructions
- Safely park your car
Park your car on a stable and even surface. Apply the handbrake and put the car into first gear. In the case of an automatic car, put it into “P”. This prevents the car from starting to roll.
- Loosen the wheel nuts
Loosen the wheel nuts with a wheel wrench while the car still firmly sits on the ground. Once the wheel is up in the air, loosening the wheel nuts becomes a lot harder because the wheels might start spinning as you twist the wrench.
- Lift the vehicle
Now it’s time to place the jack underneath your car to lift it. The tyres should be approximately a hand’s width above the ground. Important: Every car’s underbody has a jacking point location. The manual tells you exactly where that spot is on your car. That way you can prevent damage to the underbody.
- Detach the wheels
Unscrew the wheel nuts completely now. Always make sure to detach the lower ones first and the upper ones last.
Once you’ve taken down the wheel, the wire brush has its big moment. Clean any dirt and rust off the hub. Put a little bit of copper paste on it and the tyre can be detached much easier during the next change.
WALTER note: Do a quick visual examination while you’re at it: Are the brakes, shock absorbers, brake pads and brake lines all still intact?
- Screw on the new wheels
As a next step, you put the new wheel in place. Always tighten the wheel nuts criss-cross to ensure that the wheel sits evenly. As long as the tyre is still up in the air, only tighten it finger-tight.
- Tighten the wheel nuts
Before you tighten the wheel bolts with the torque wrench, lower the car back down onto the ground. Different cars require different torques – the manual tells you more!
Important when tightening the nuts with the torque wrench: You need to work criss-cross. If you hear it clicking after a quarter rotation, the wheel nut is tightened with the right torque. As a final step, you should check the air pressure of all tyres.
Imprtant at the tyre pressure monitoring system: Please read the instruction manual of your car to modulate the system correctly for your new tyre. Every manufacturer has his own process.
 Very good (4.64 / 5.00)


